Installing Serenade
Serenade
Installing the main Serenade client application
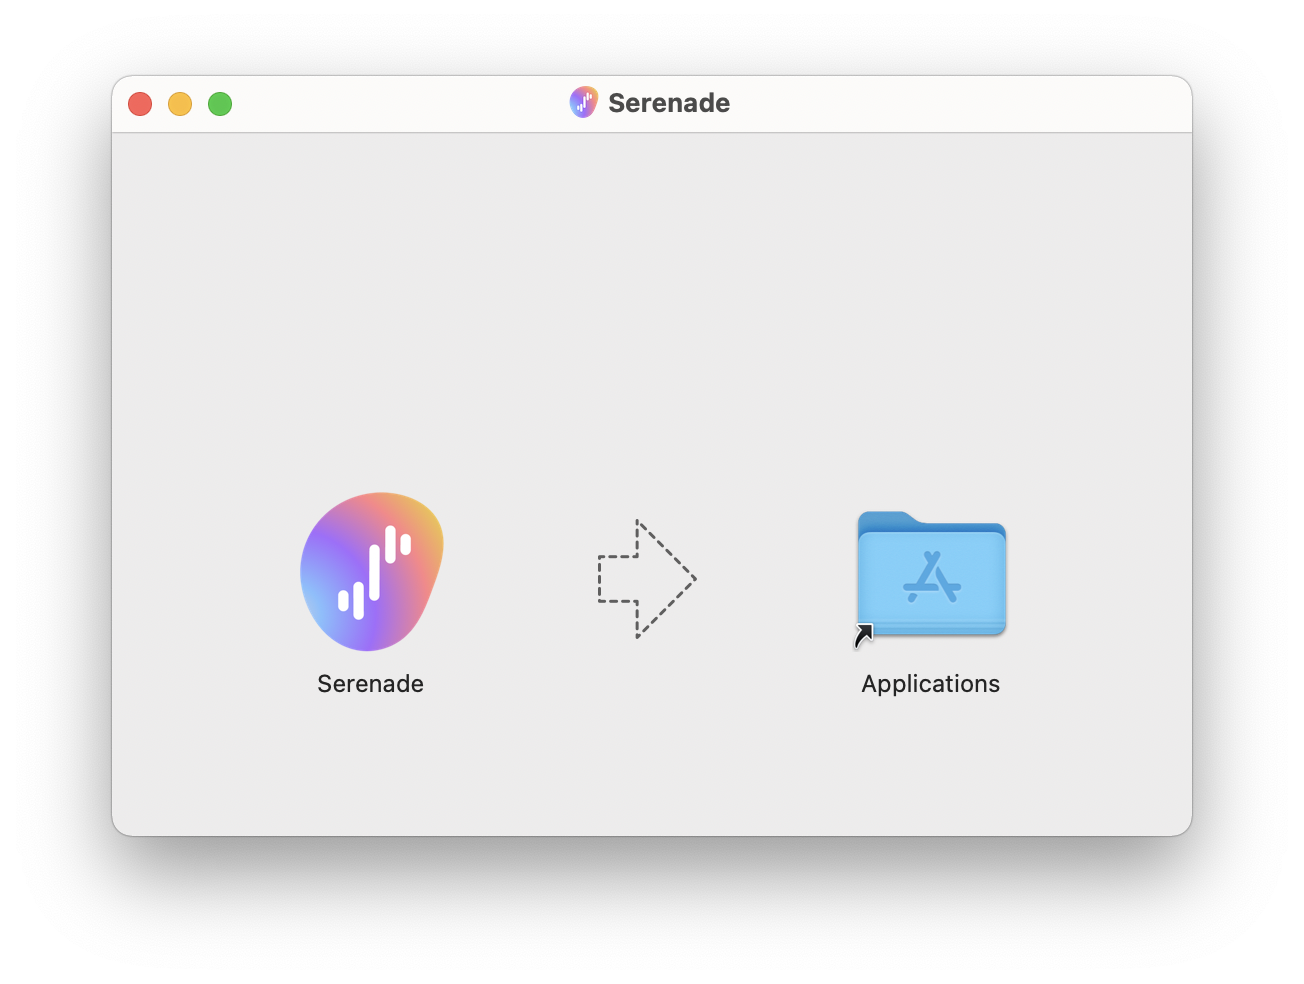
macOS
- Drag Serenade.app into your Applications folder.
- Open your Applications folder, and click Serenade to run it.
- Follow the prompts in the app to continue setup!
Windows
- Run the installer application, which will install and run the Serenade app.
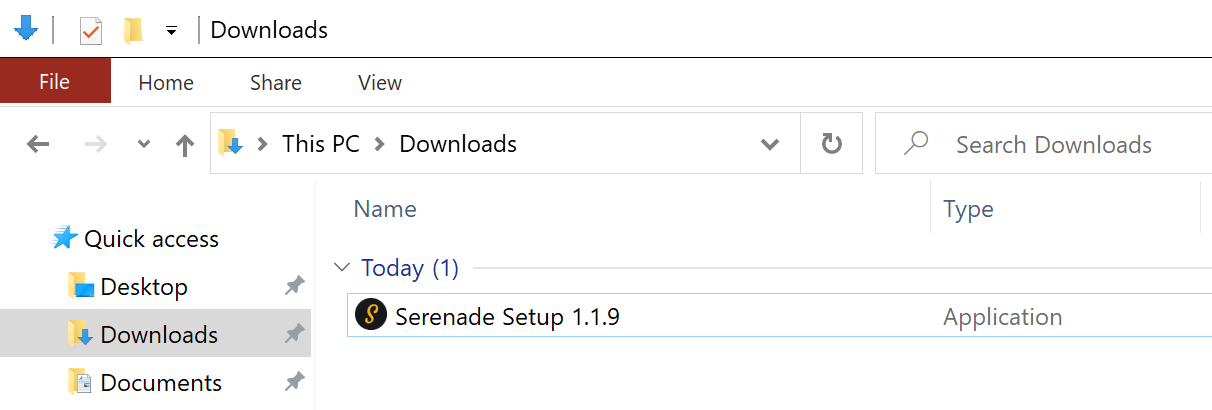
- Follow the prompts in the app to continue setup!
Linux
- Set the permissions of Serenade-*.AppImage to be executable with:Or, use a file manager UI to make Serenade executable.
chmod +x Serenade-*.AppImage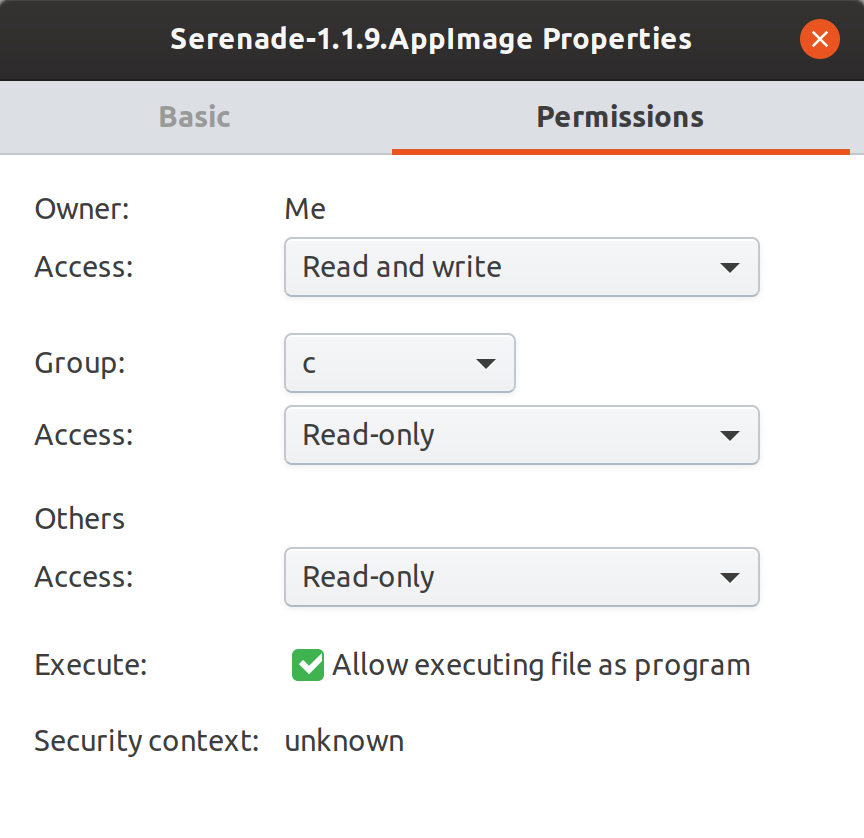
- Run the Serenade-*.AppImage file, either via the terminal or a file manager UI.
- Follow the prompts in the app to continue setup!
Serenade Pro
Getting set up with Serenade Pro
Windows Only: Install WSL
Serenade Pro requires WSL to run on Windows. On macOS and Linux, no other dependencies are required.
If you already have WSL installed, then you're all set! If not, you can follow these steps to install.
- Open up PowerShell as an administrator and run:
dism.exe /online /enable-feature /featurename:Microsoft-Windows-Subsystem-Linux /all /norestart - Restart your computer.
- Install the Ubuntu app here. You can also search Ubuntu in the Microsoft Store.
- Open the newly installed Ubuntu app to complete the installation process.
Install Serenade Pro
Once Pro has been enabled on your account, Serenade Pro will download (and auto-update) when you start Serenade.
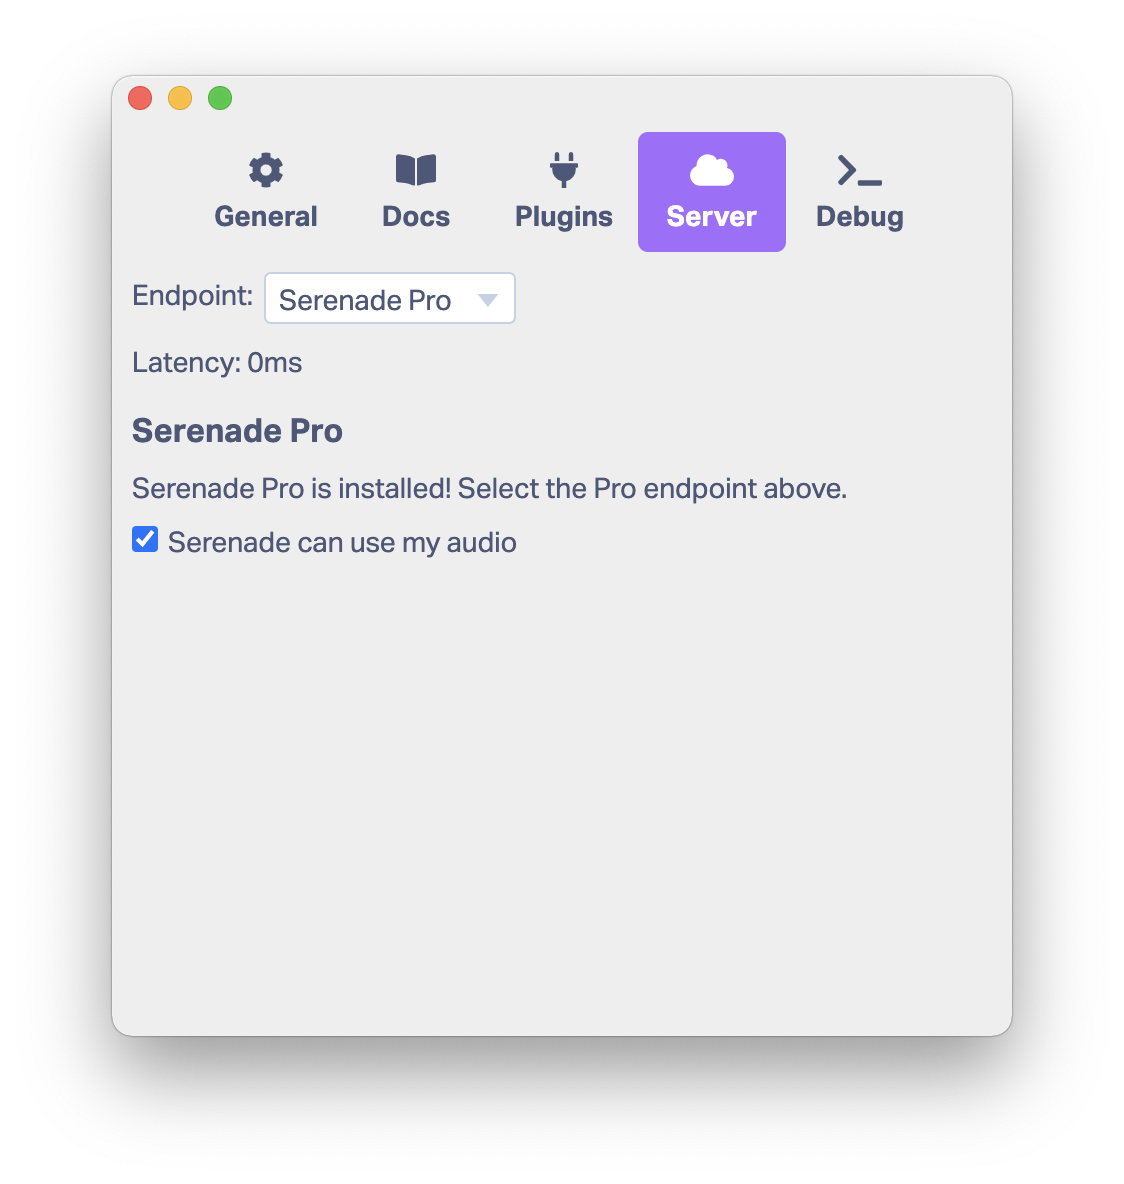
To switch to Pro, open Serenade, and then open the Settings window via the gear icon at top-right. Then, head to Server and select Serenade Pro.
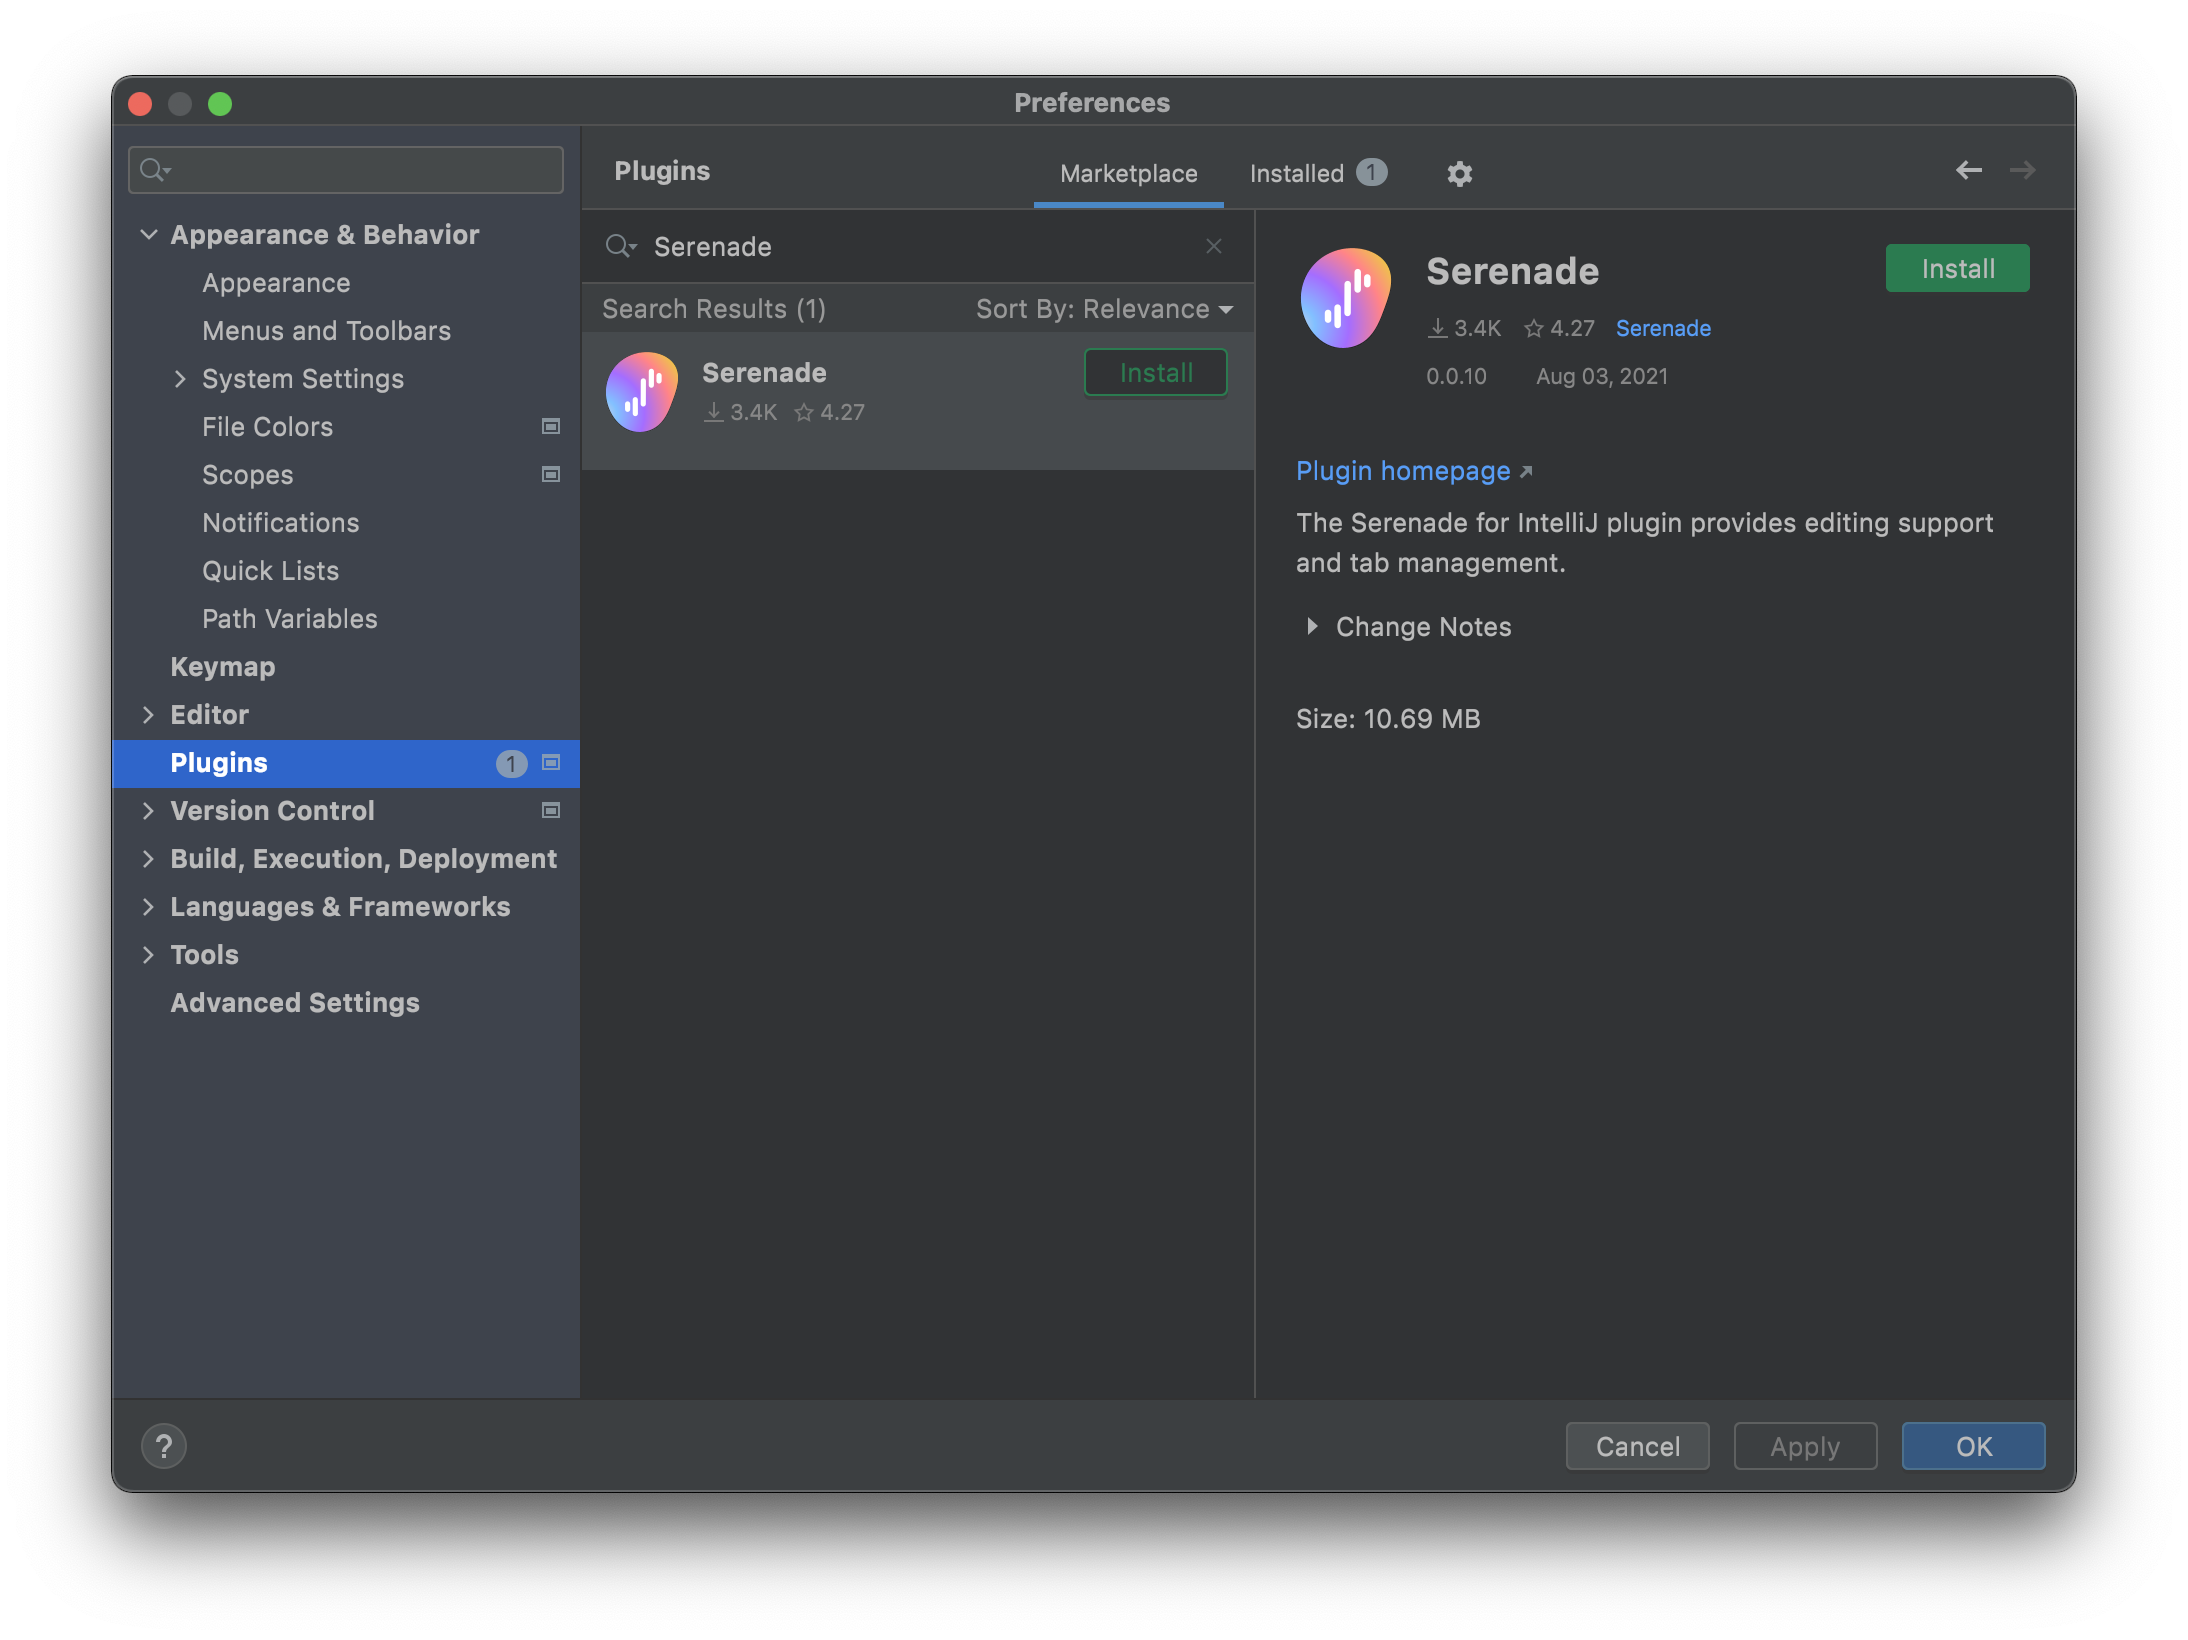
JetBrains Plugin
Integrating Serenade with JetBrains IDEs
- Open the JetBrains preferences window.
- Navigate to Plugins on the left sidebar.
- Search for Serenade in the search bar, then click Install.